
I love my Blink doorbell. And like any relationship with technology, there’s always an element of desired improvement that’s lurking around the corner. With the doorbell model that I’ve got, such improvement is my desire to not have to periodically swap batteries. Until such a time when (and whether) good folks at Blink will introduce such a feature, I went off on a DIY path to explore whether it’d be doable in the meantime. With a bit of research, I was pleased to find a solution that, when given a chance, ended up working for my needs. NOTE: this is not supported by Blink. All standard caveats, such as (and not limited to) “attempt at your own risk, do the research, read the manuals, get help from licensed professionals” apply.
Here are the steps I took, that worked for me
Step 1: Ordered a fitting adapter with appropriate voltage. Pictured is the one I purchased on Amazon, in the US. I searched for “dummy battery”.

This was an important item I came across after researching adapters that could provide constant 3V flow, thus replacing the need for lithium batteries prescribed by the doorbell. While the length of the adapter may not suffice for everyone’s needs, there is a way to extend the distance (by employing an extension wire available at your local supply house)
Step 2: Having removed the faceplate cover, I disconnected the chime wires, to make sure that I can establish a connection and validate doorbell boot-up and camera connectivity independently of the the chime function.

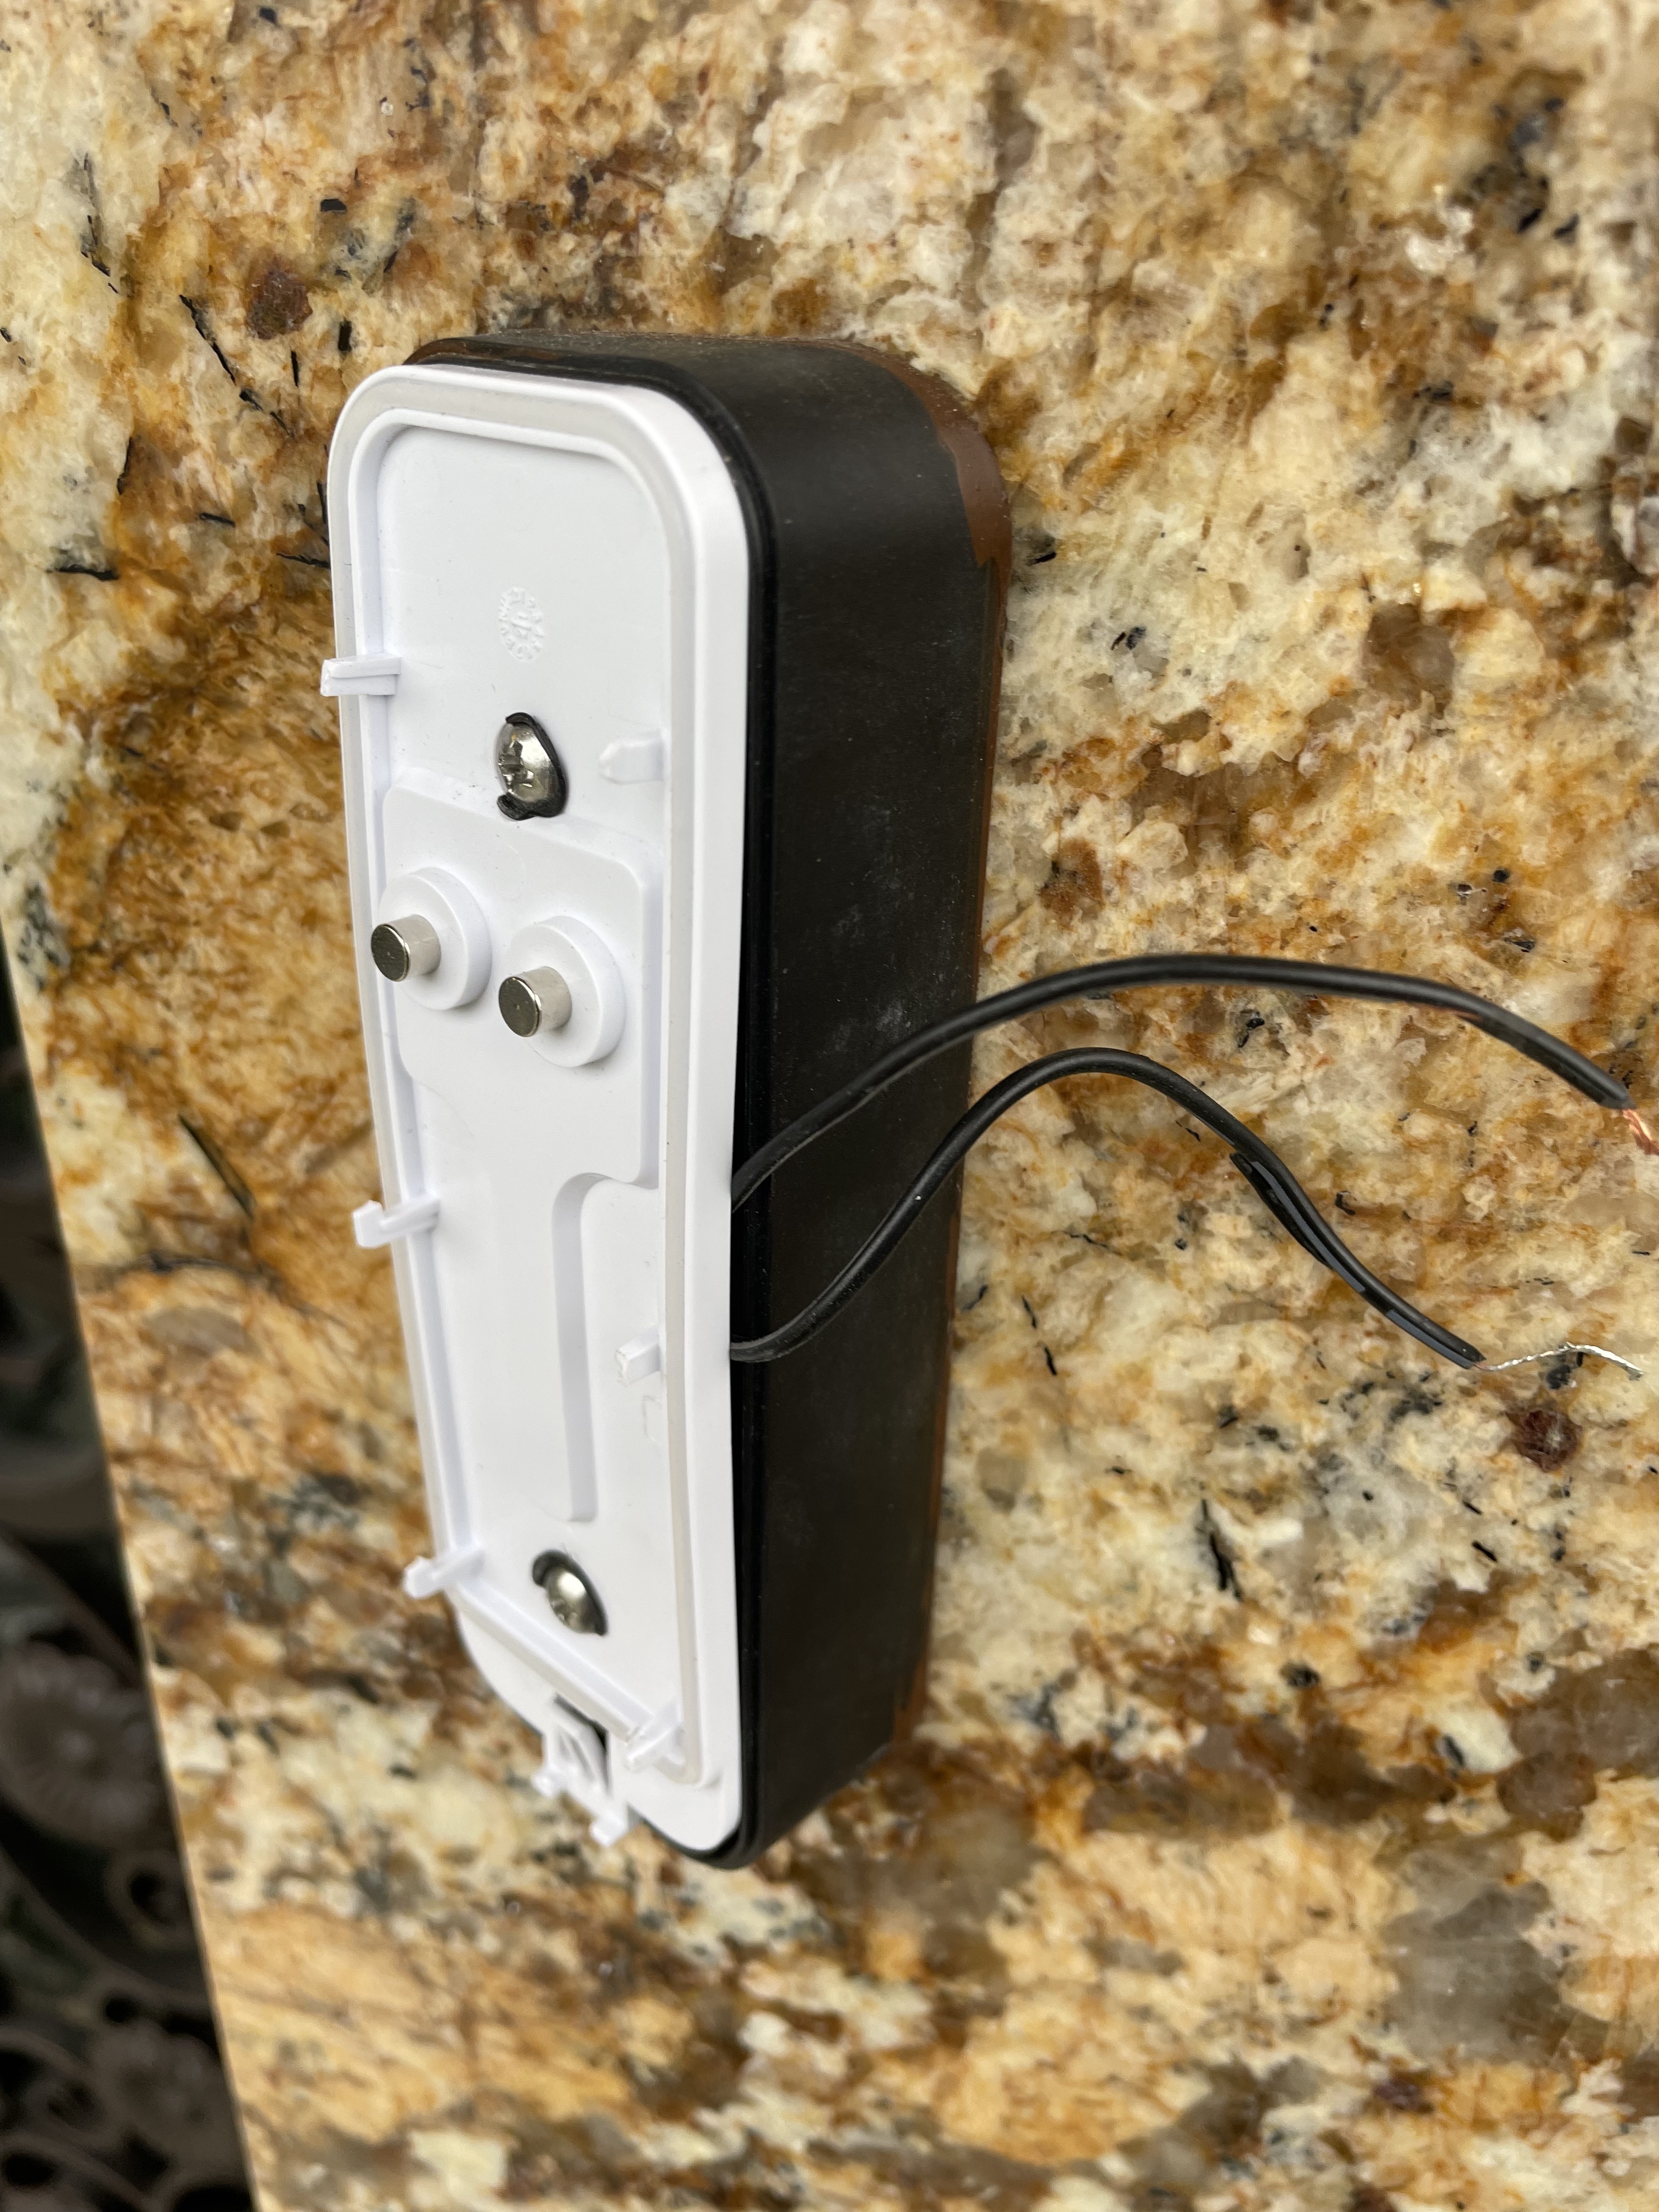
Step 3: In this step I wanted to ensure that I could easily fit the wires in the enclosure. As you can see, it didn’t work on the first try, seeing as the enclosure protruded slightly. After another attempt, the connection became more snug.
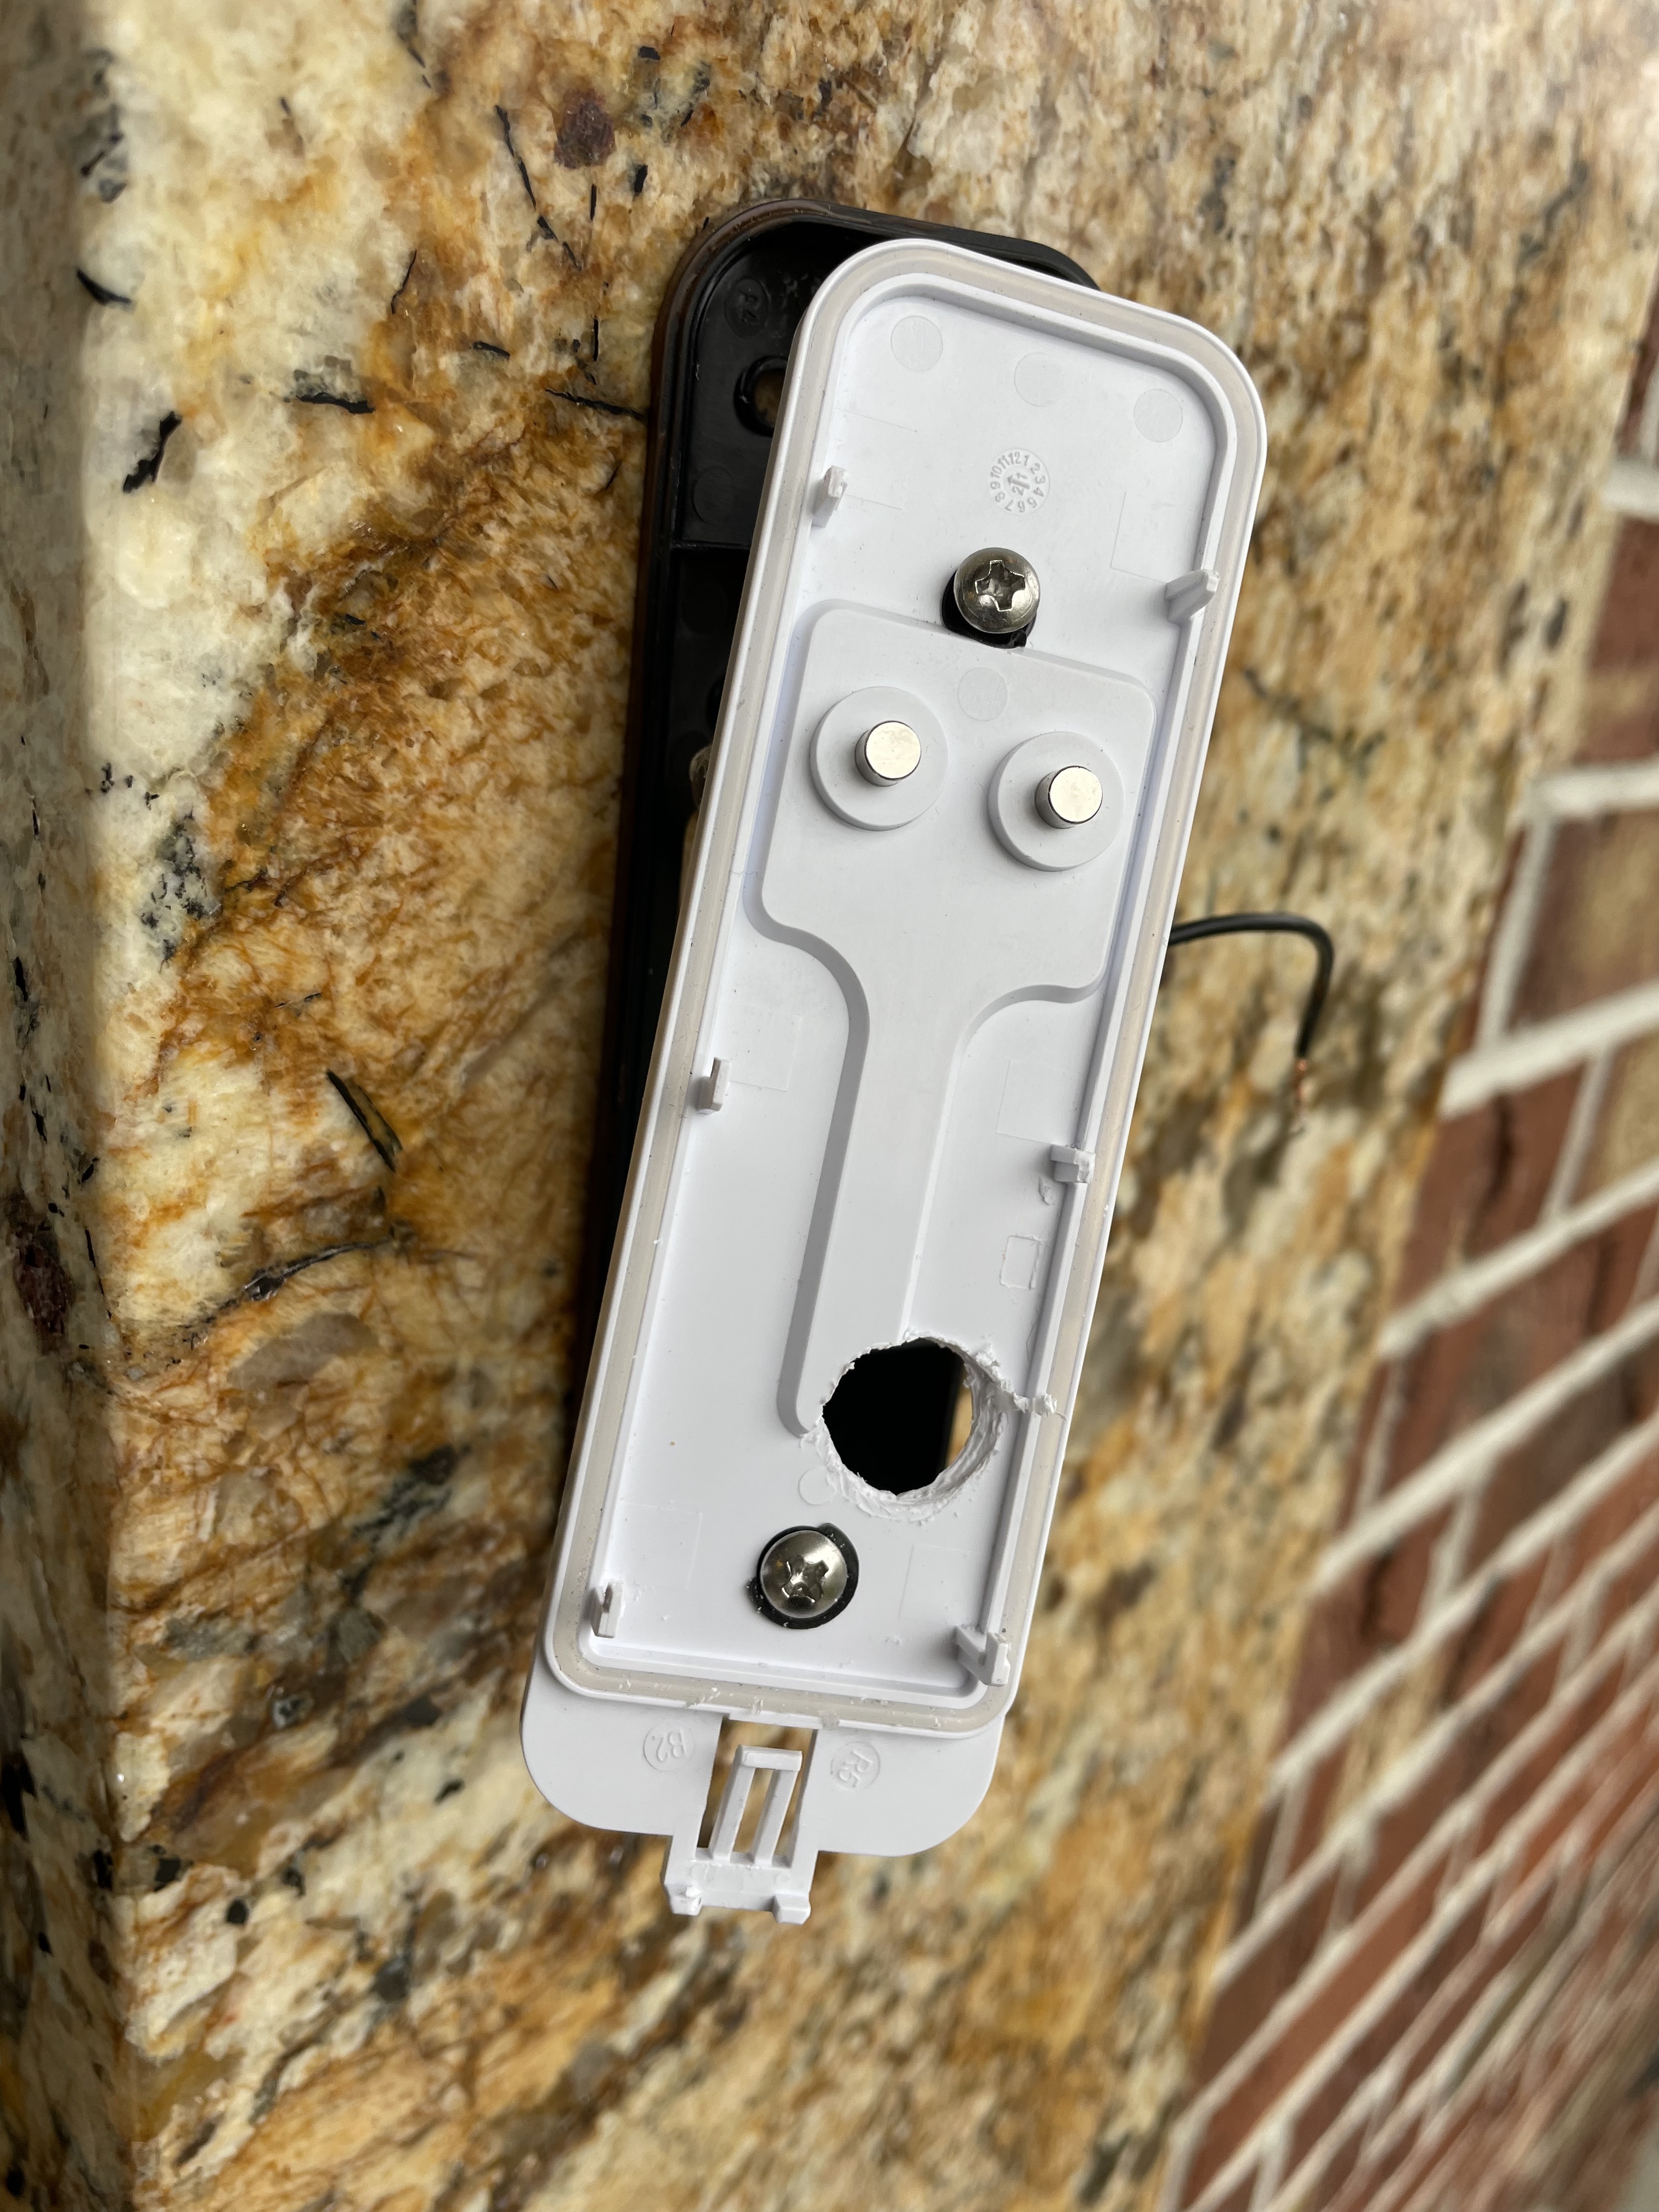
Step 4: I drilled a small hole, slowly, in the plastic cover that separates the faceplate from the backplate.
The reason for the hole is so that I could push-through the wire that’ll come in from the wall and constantly supply power to the two “batteries” (that are included in the kit)
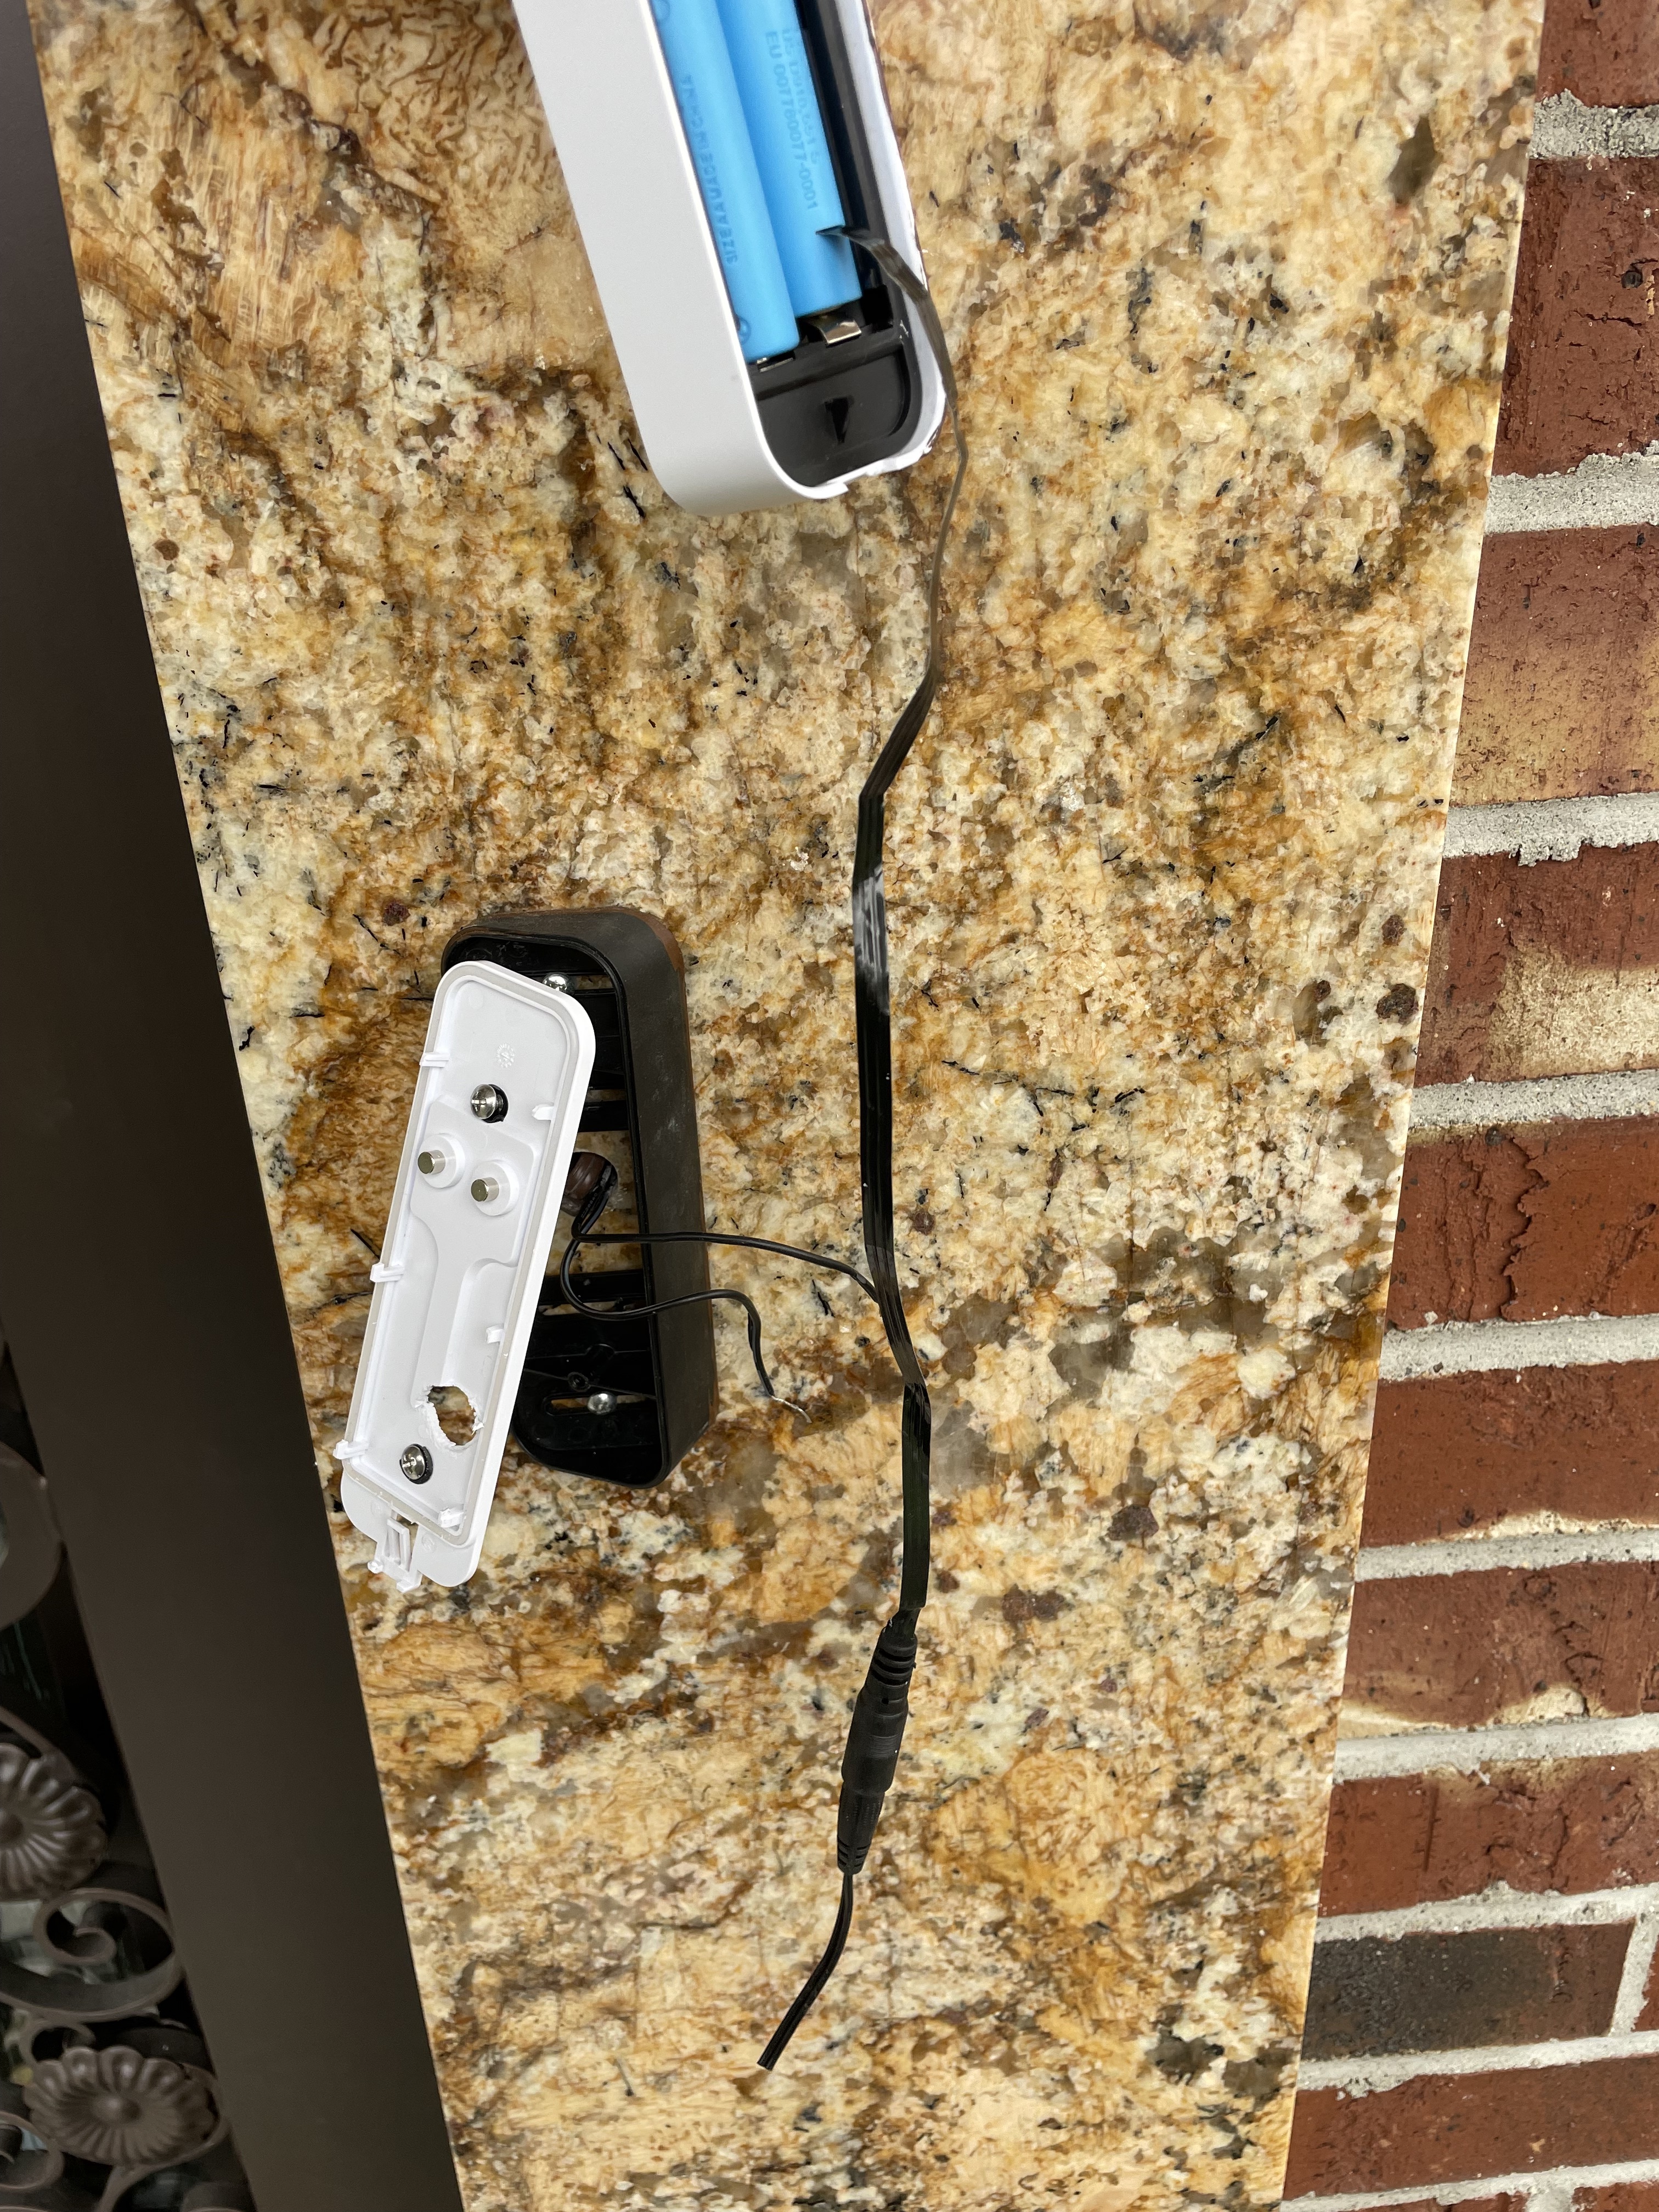
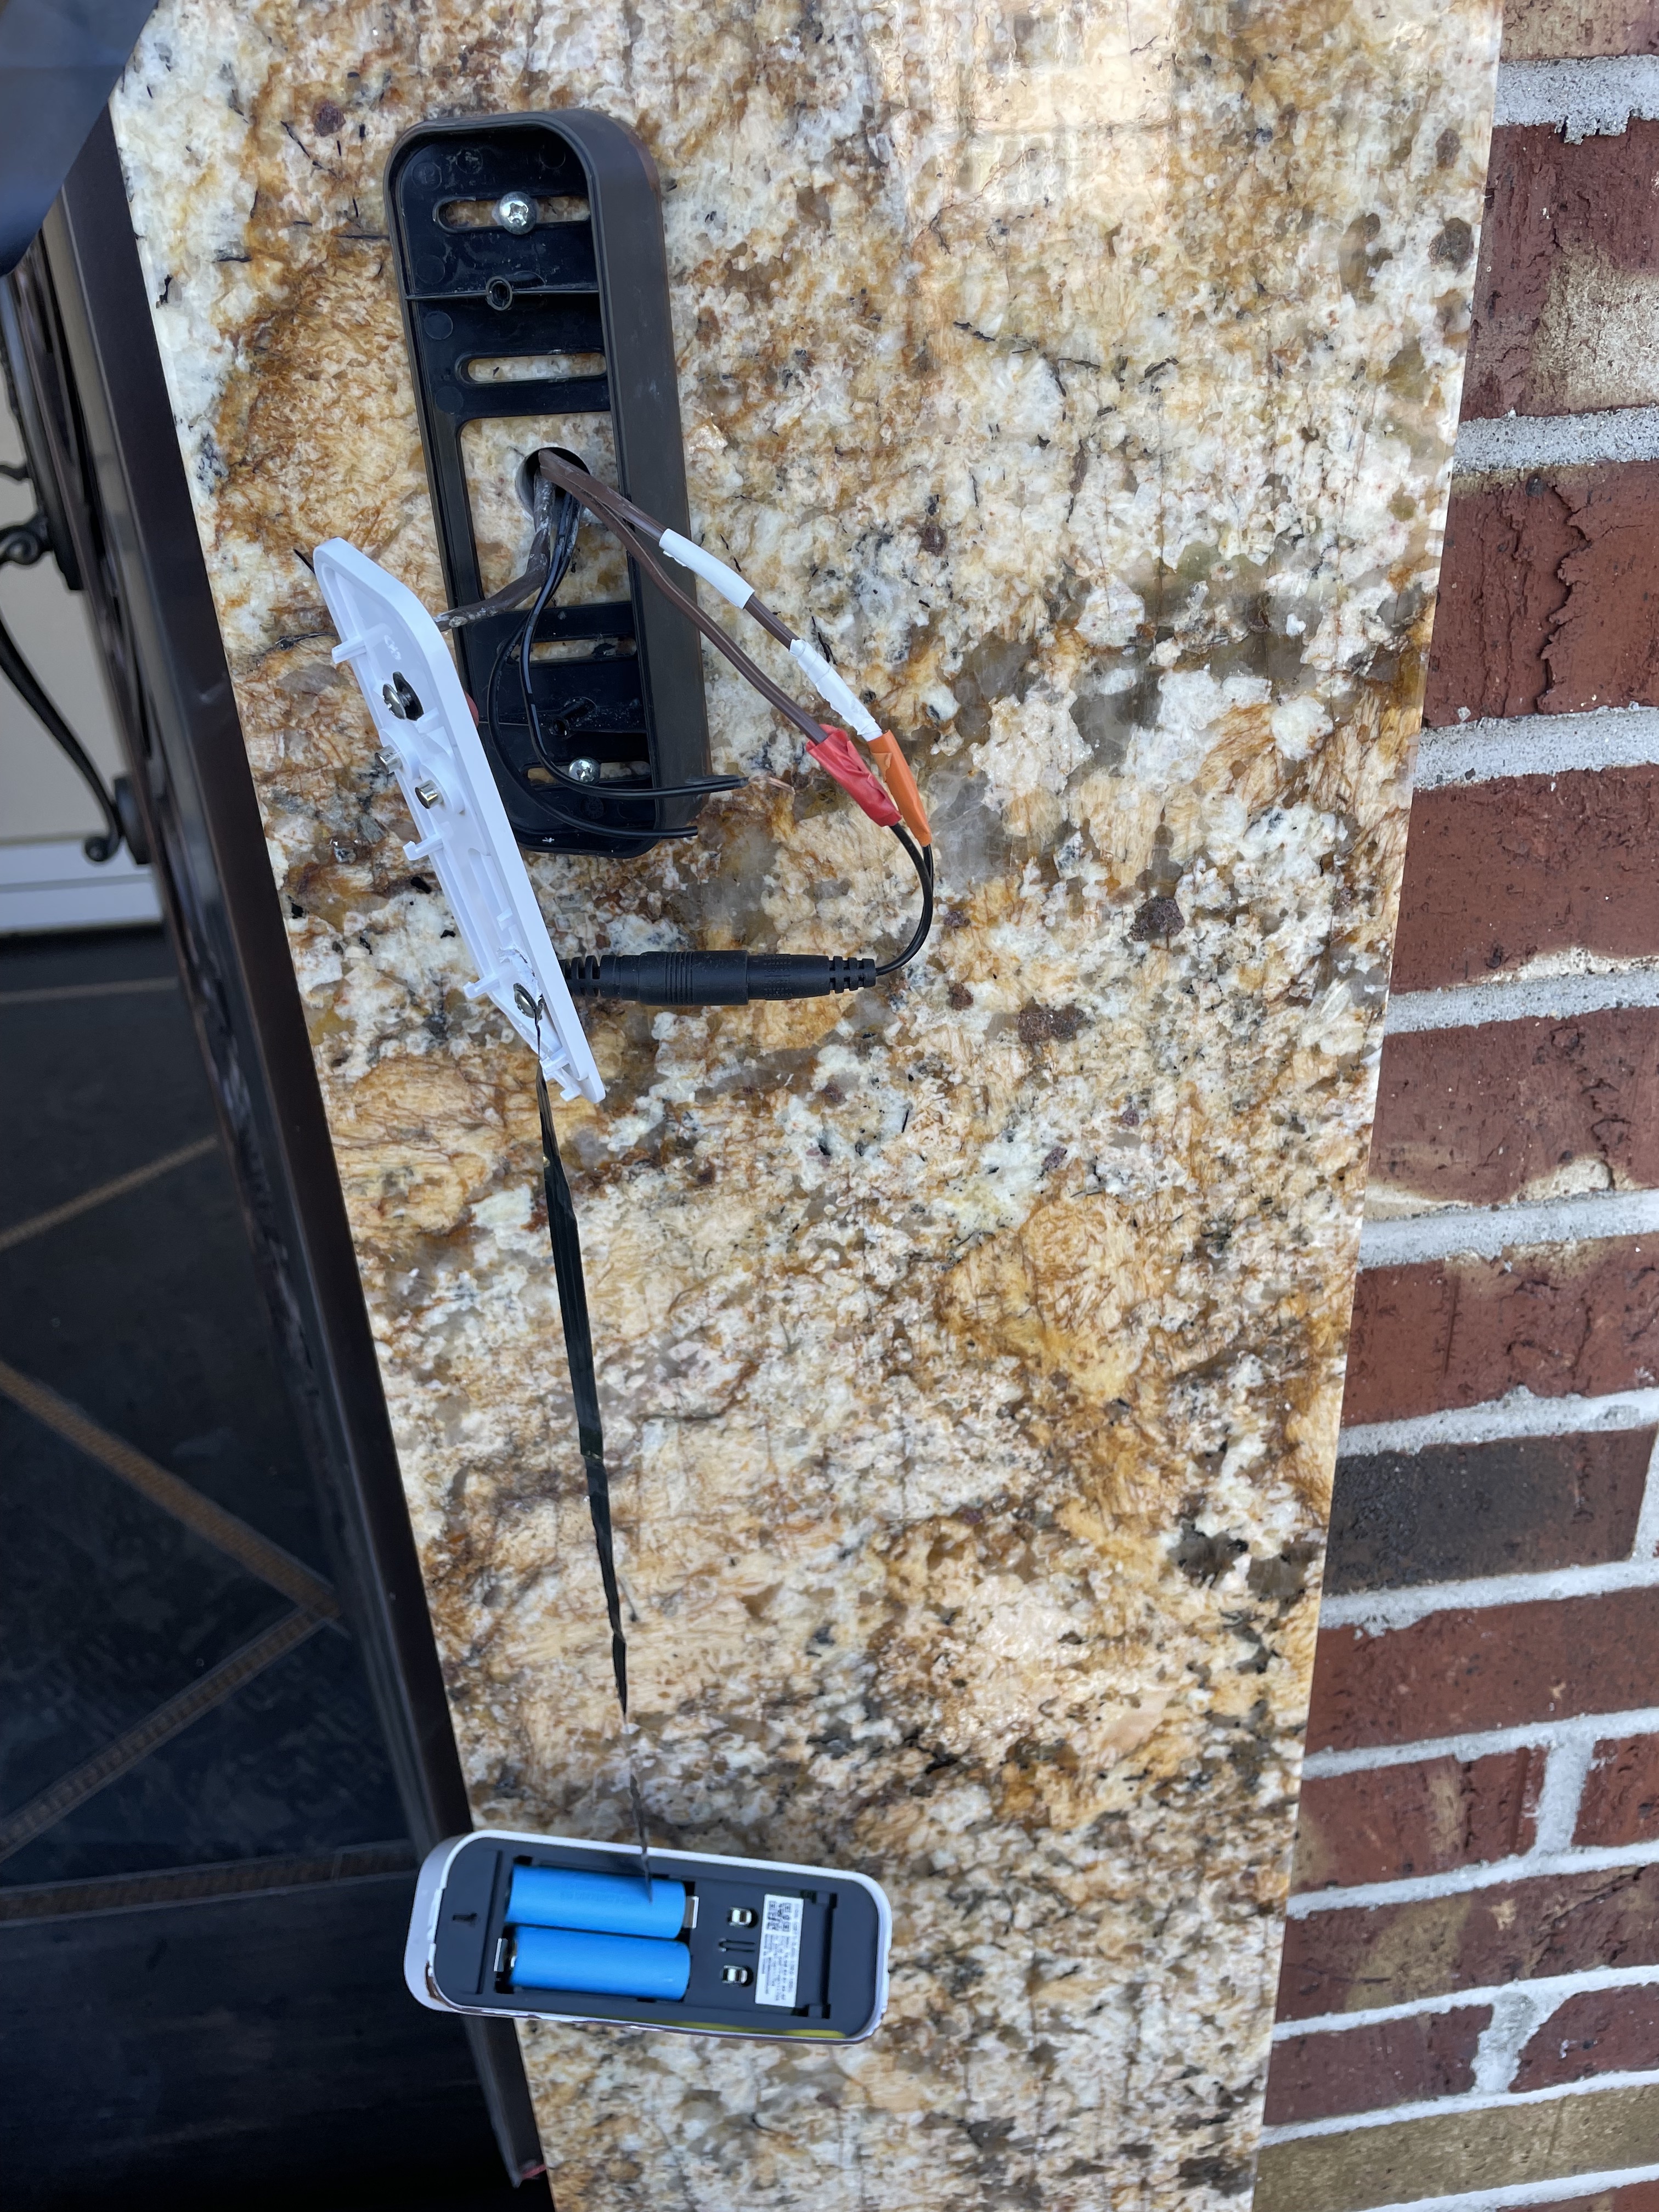
Step 5: Here’s what that looked like, before the wire was fished through the hole, and the pair of wires were re-attached to their corresponding counterparts that were coming in from inside the wall.
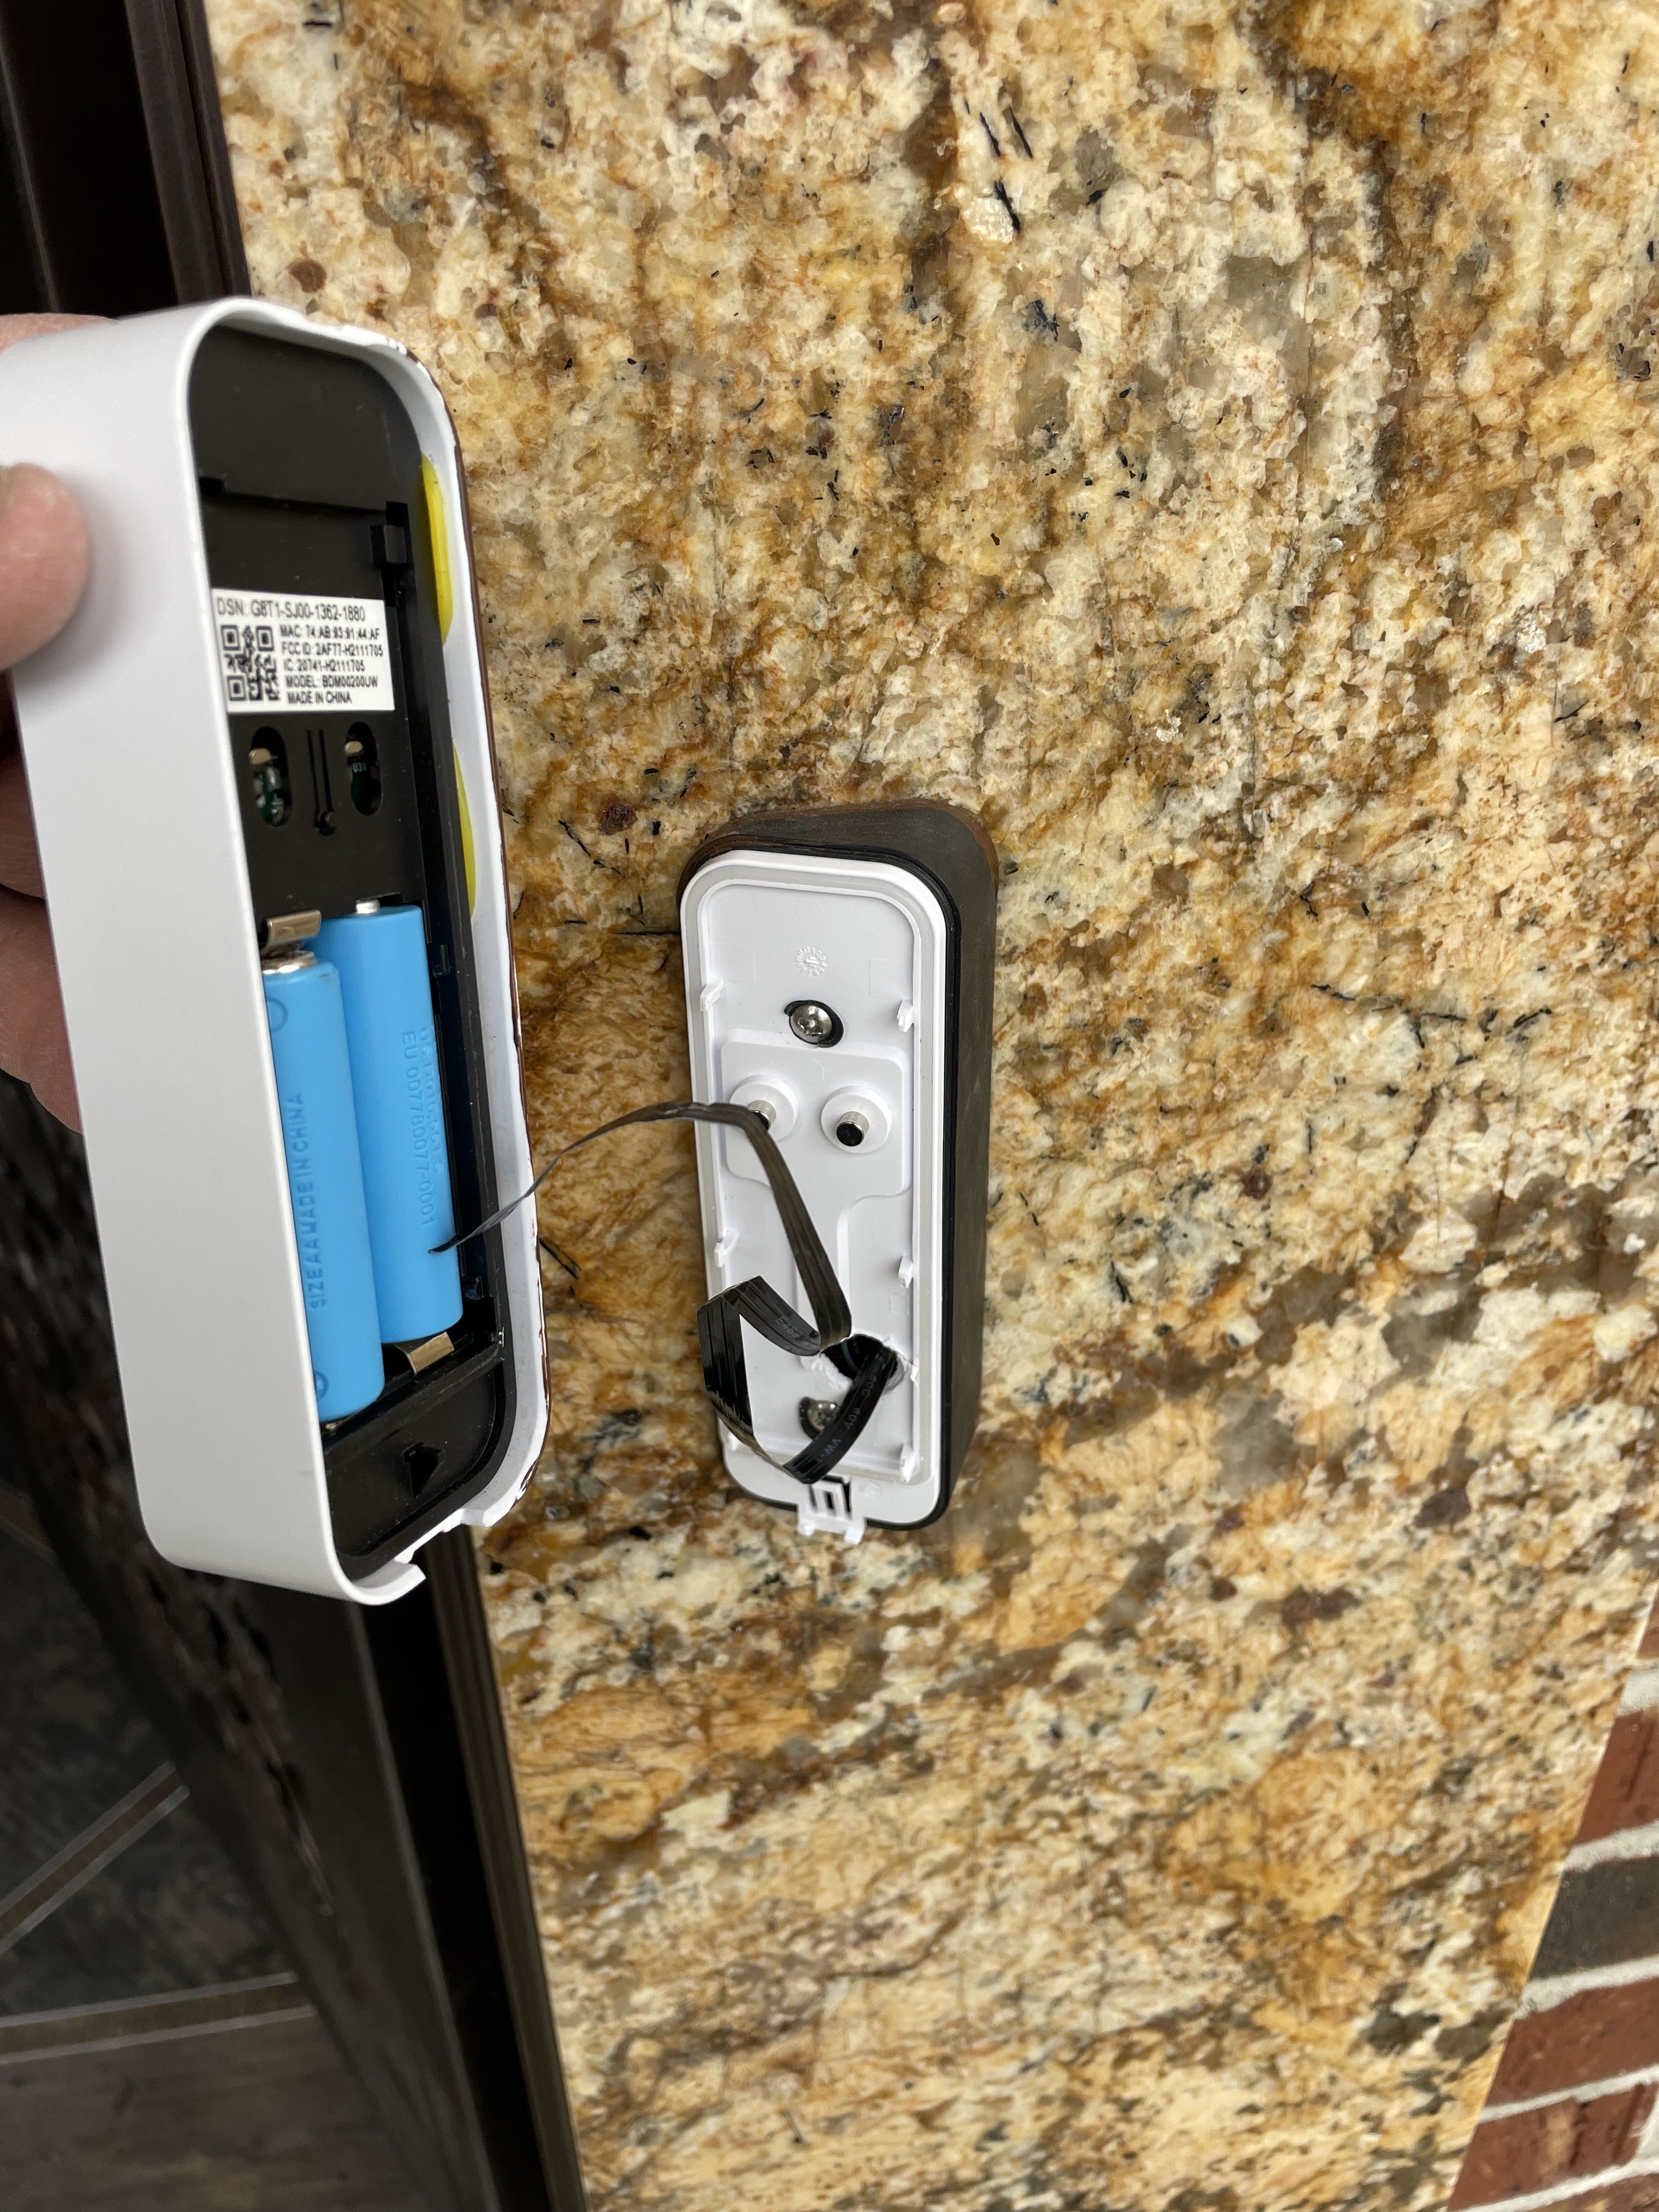
Step 6: Once reattachments were made, the ribbon cable needed to be slowly rolled-up. That was necessary to allow validation of boot-up connectivity and full door chime functionality.
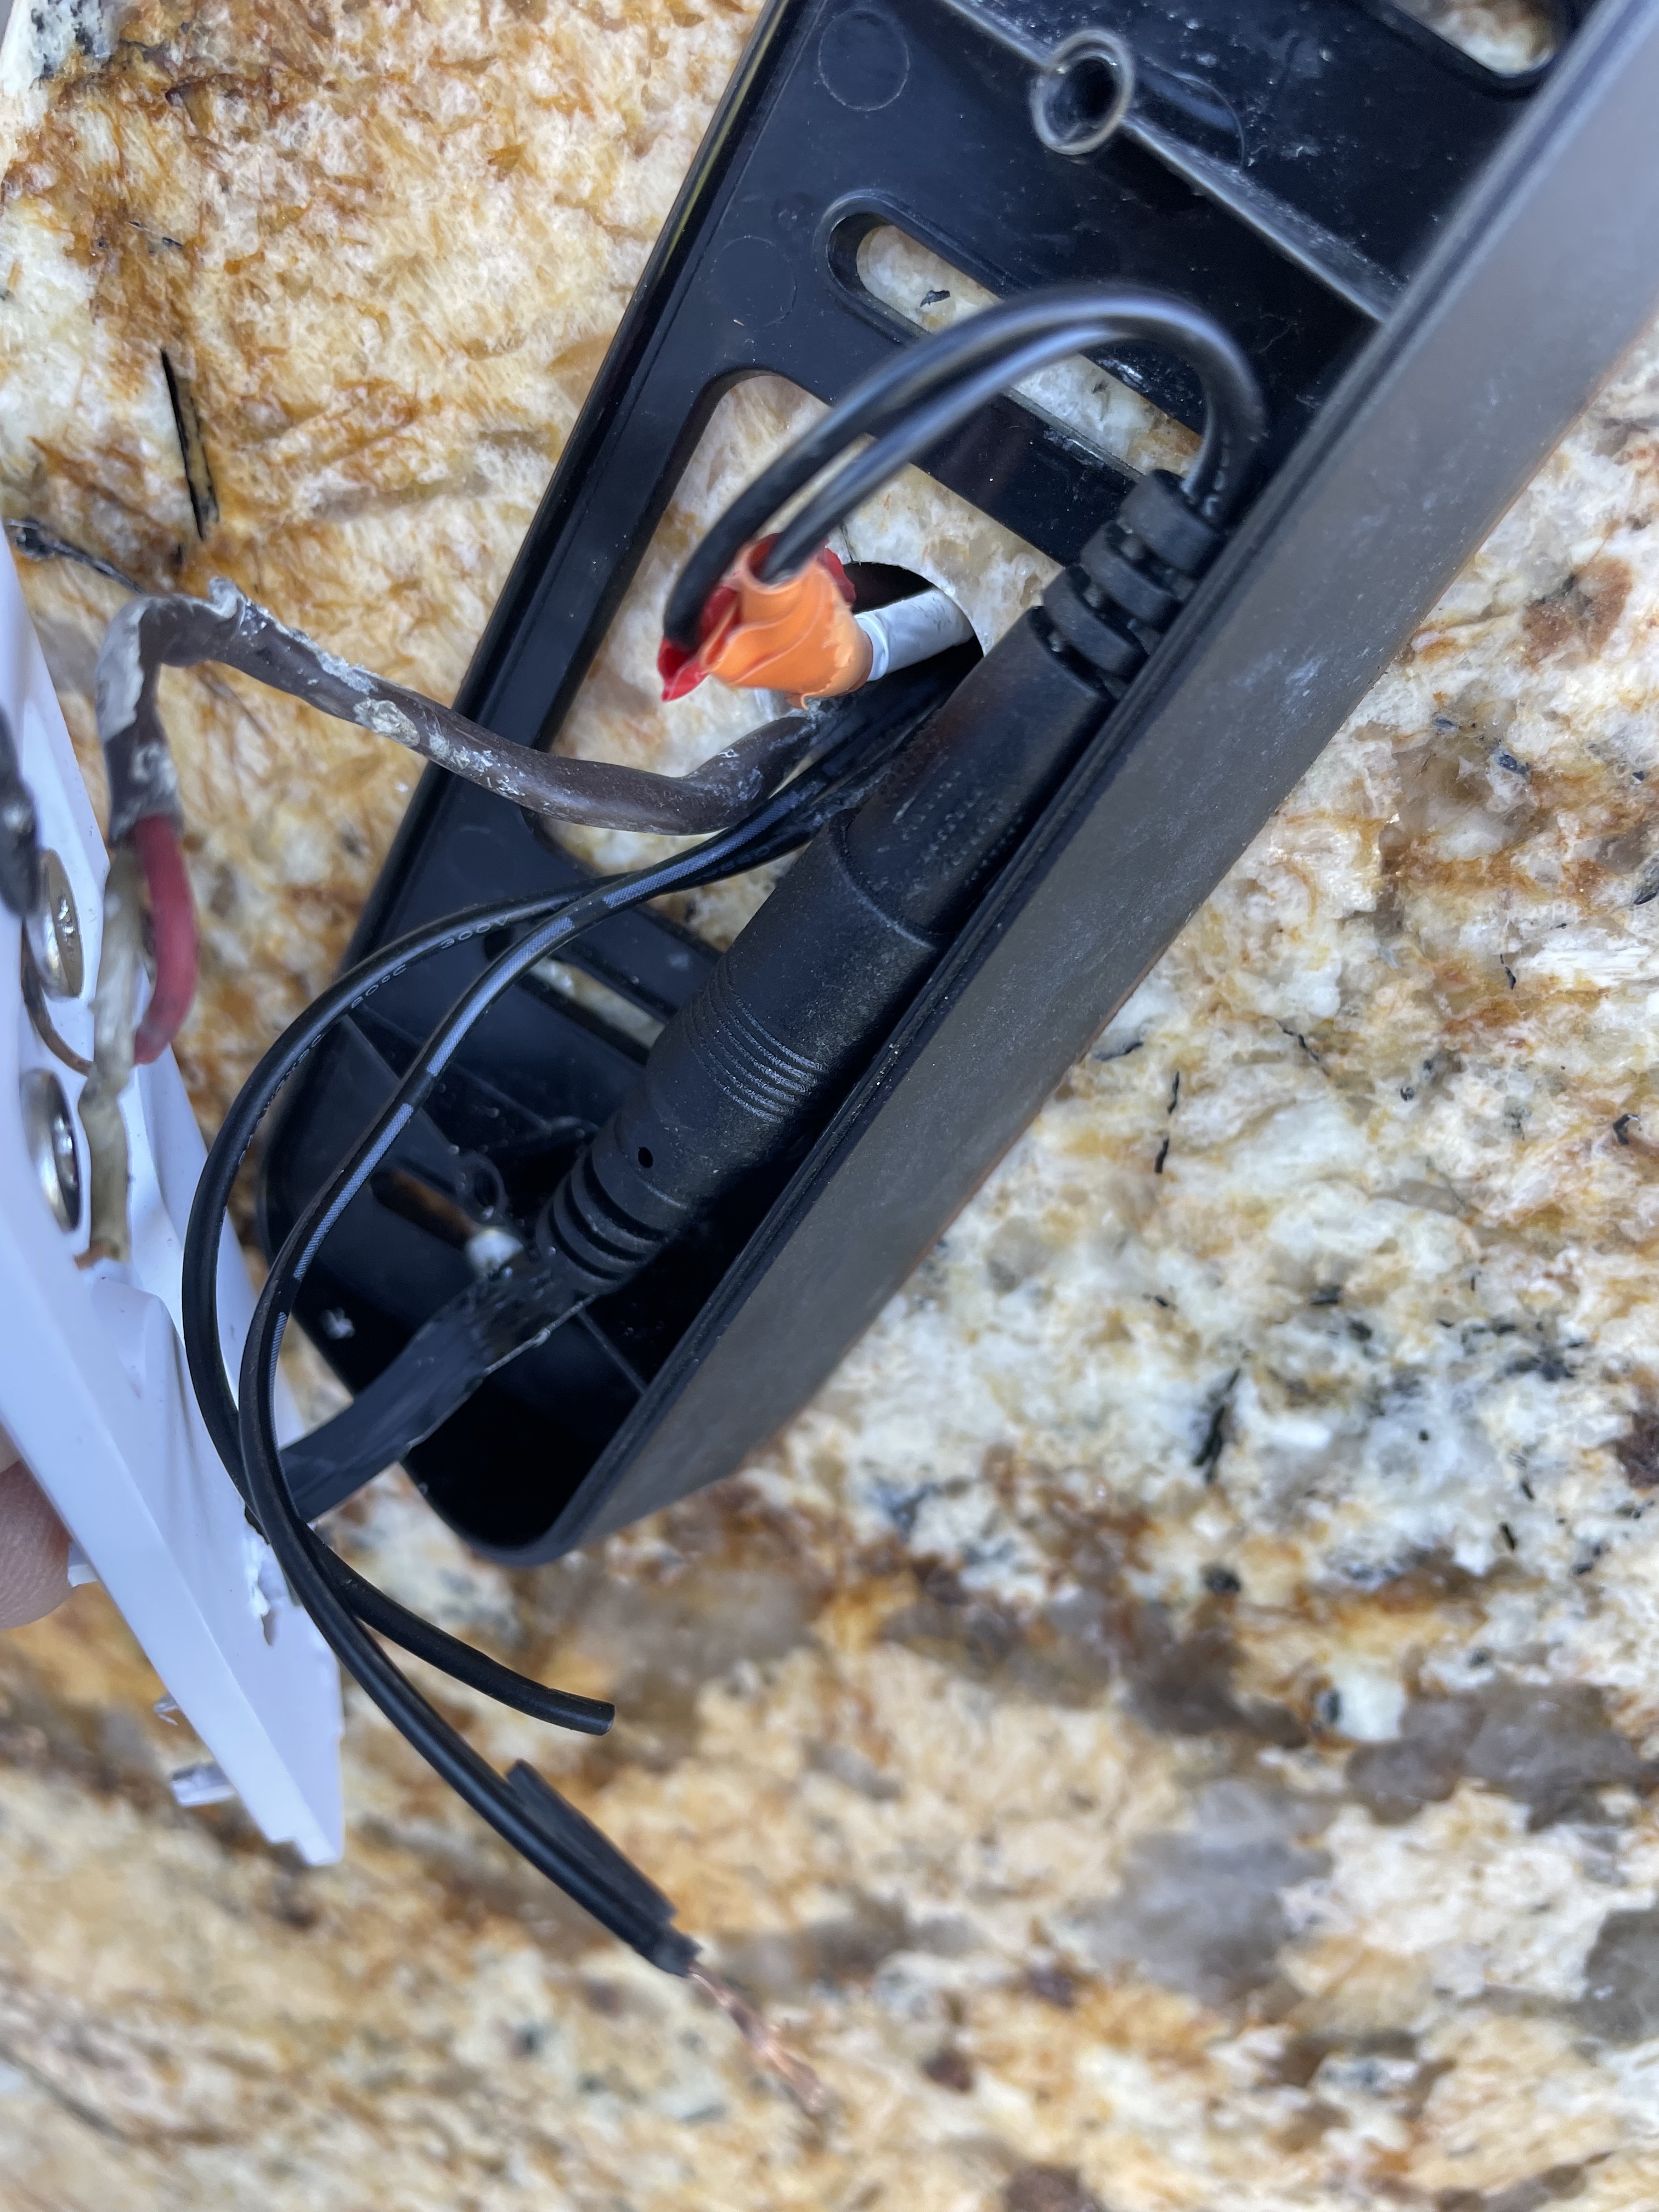
Step 7: Here’s a photo of relying on an extension cable (brown), just prior to closing the cover. This took a little of finessing and in the end worked out quite nicely.
Step 8: Here’s a closer view of aligning cabling behind the middle plate. It assumes that your doorbell is attached to an angled door mount bracket from Blink (which is optional, depending on the layout of your door area). If you do need it, you can purchase it here
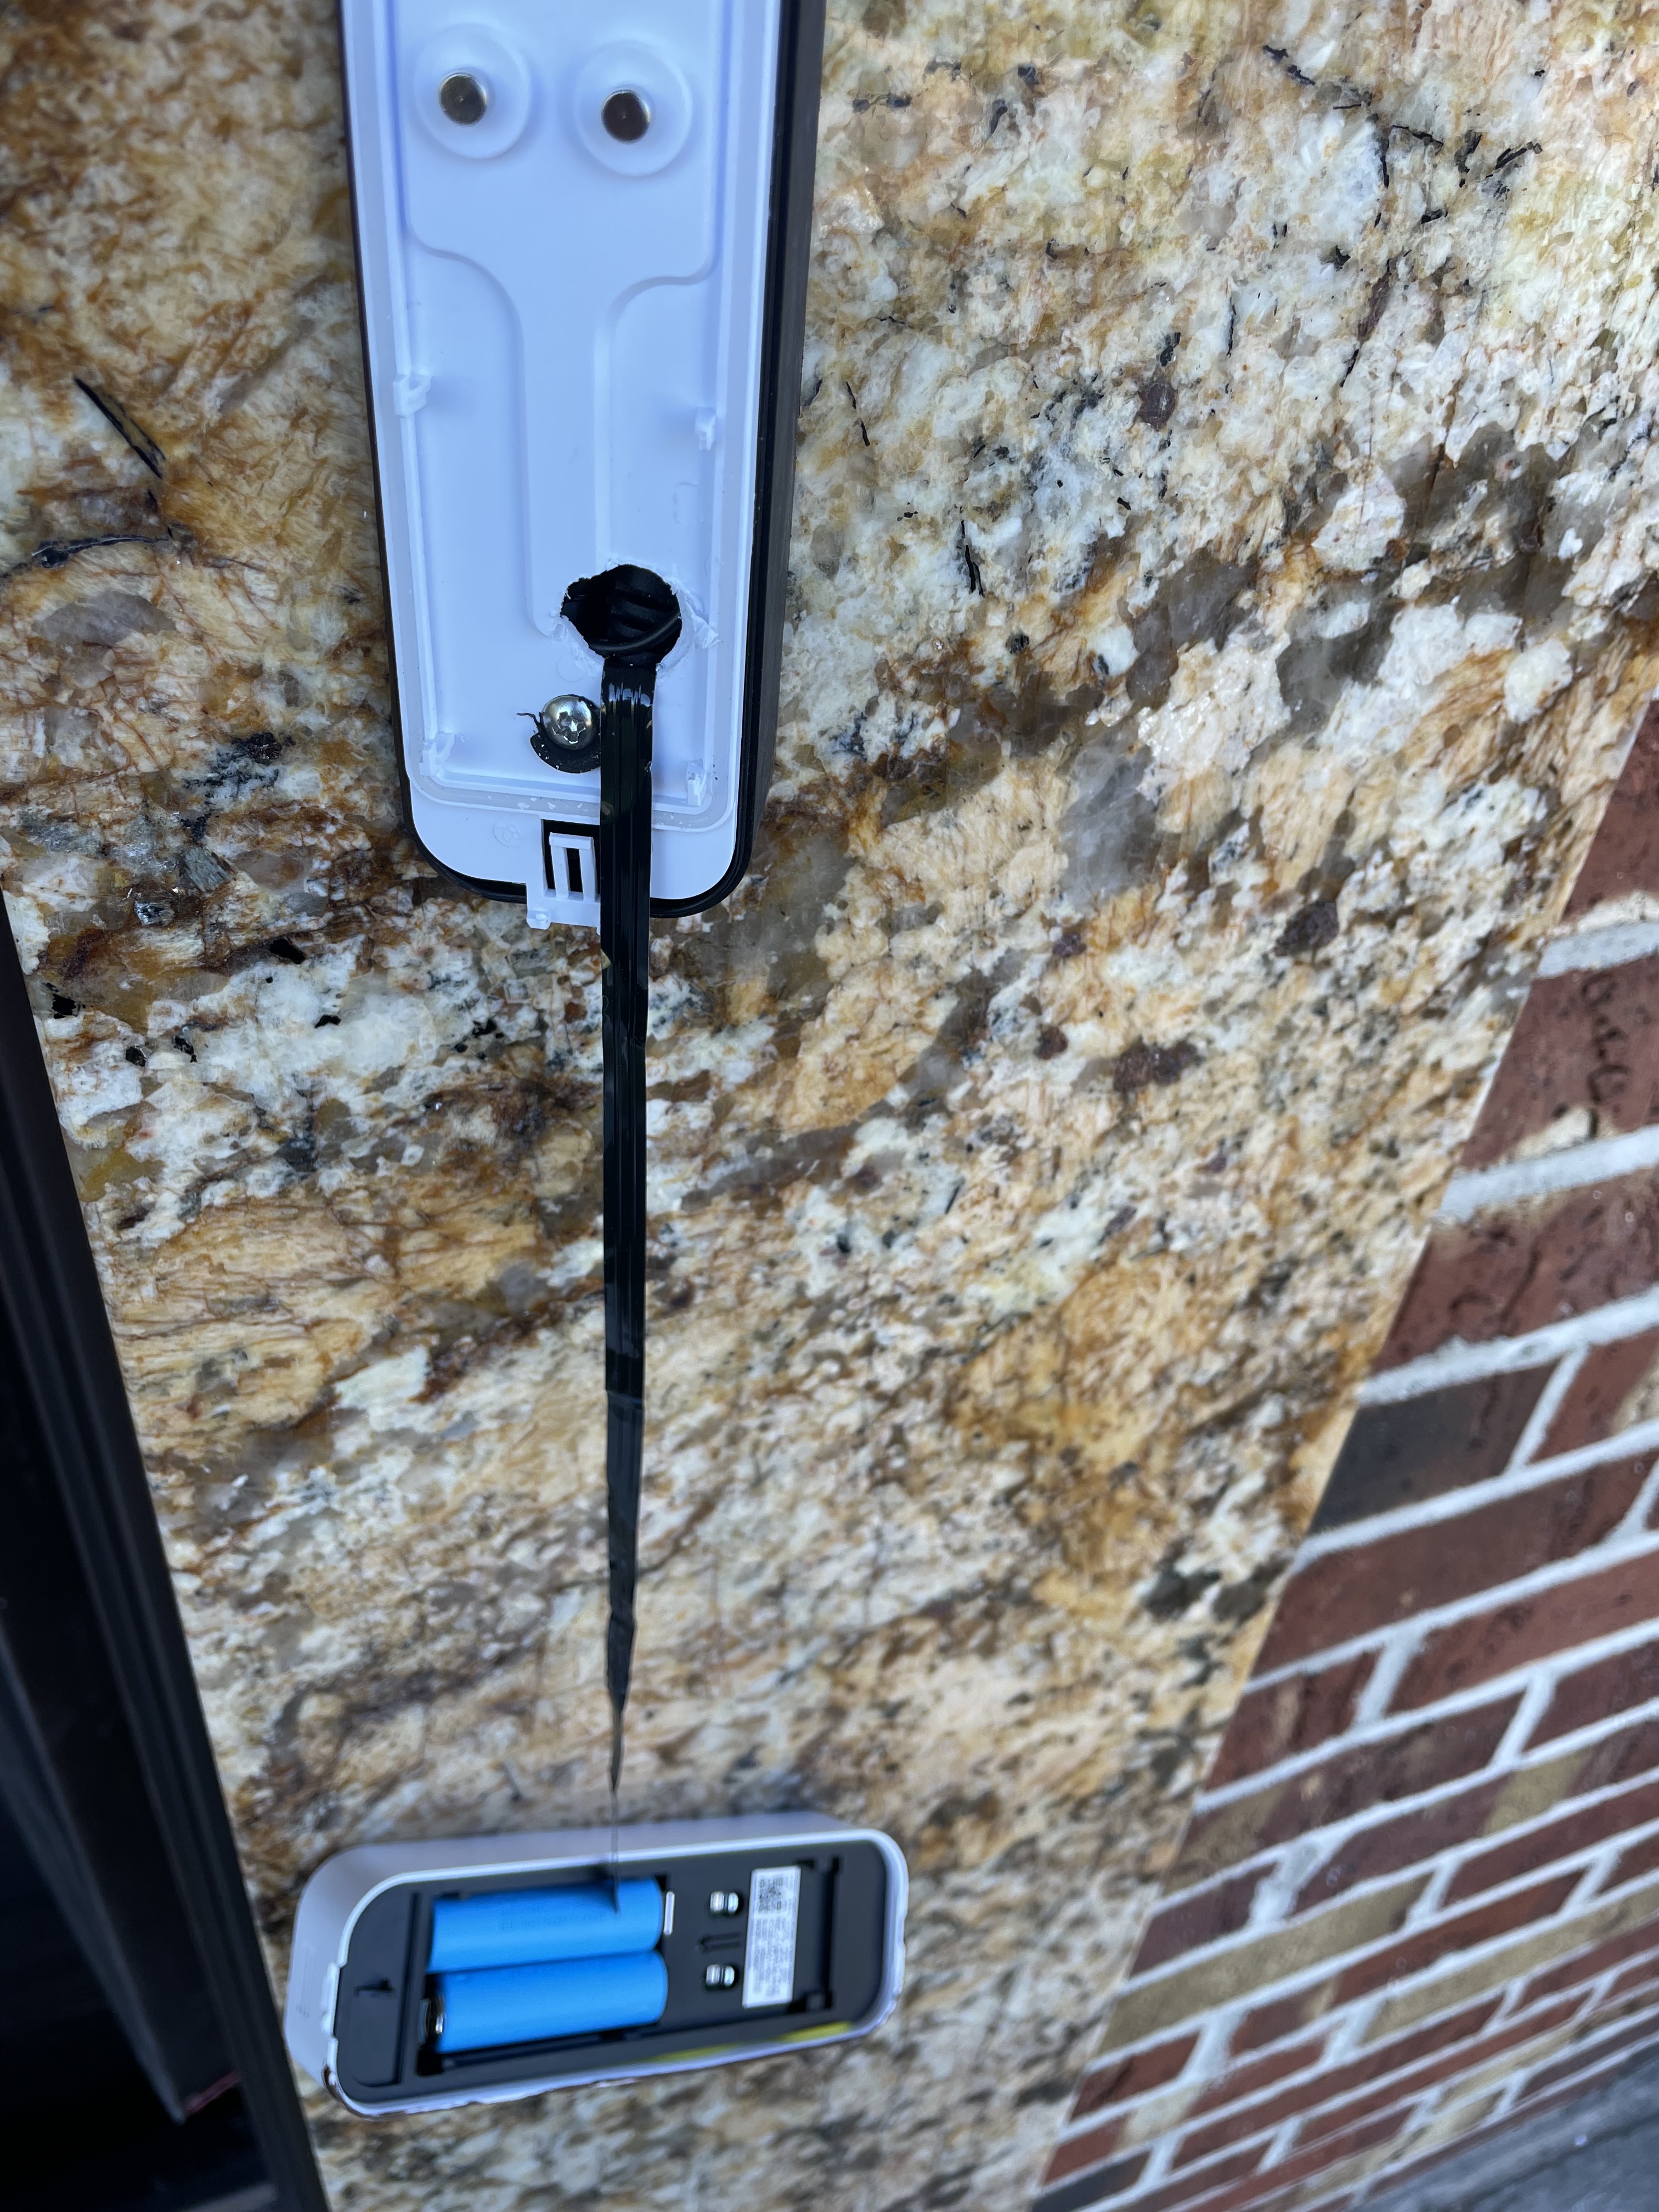
Step 9: In this step I reattached the middle plate, resulting in the doorbell simply hanging (temporarily).
This is done as a temporary measure, allowing flexibility to validate all functionality prior to final faceplate cover attachment.
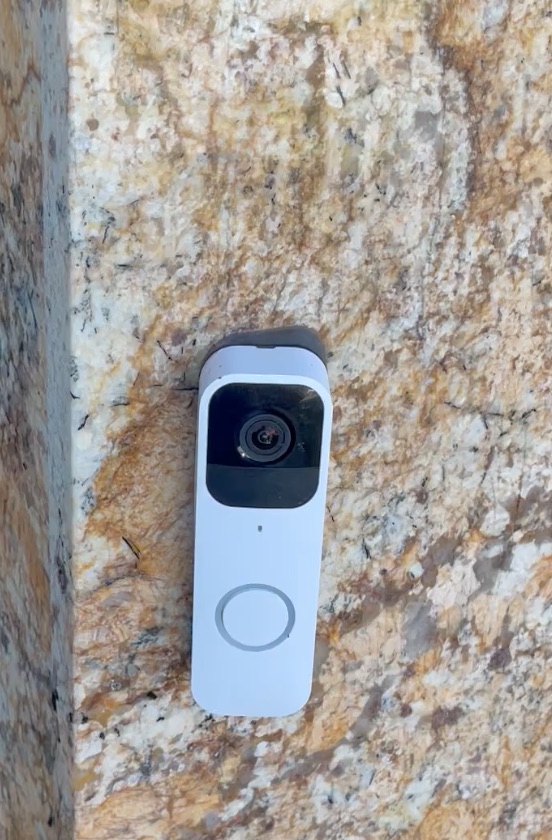
After that’s done, connected the face plate cover by re-attaching it. Made sure no wires are protruding beyond the boundaries of the casing. And I was done!
Here’s the resulting setup:
…and a short video of the final UX outcome.
https://bit.ly/battery-lessLet me know what you think!
Cheers

Recent Comments